First-Time Renovation Checklist Malaysia: 20 Things to Do Before Hacking Starts
Buying your first home in Malaysia is exciting — but the renovation that follows can quickly become overwhelming. Between condo management rules, CIDB requirements, material choices, and contractor negotiations, most first-time homeowners in the Klang Valley don't know where to start. This first-time homeowner renovation checklist covers the 20 things you need to do before hacking day, in the exact order you should do them. Print it out, share it with your partner, and tick each item off before a single wall comes down.
Key takeaways
Complete your defect inspection and collect all documents before engaging any contractor — your DLP window is limited.
Always set aside a 15% contingency on top of your renovation budget for surprises behind walls.
Never let hacking begin without a signed contract, confirmed material selections, and all required approvals in hand.
Why You Need a Renovation Checklist Before Hacking Day
Hacking is irreversible. Once walls come down, tiles get ripped out, and plumbing gets exposed, there is no going back without spending more money. The most expensive renovation mistakes happen because homeowners rush into demolition before sorting out approvals, contracts, or even a proper layout plan. We have seen homeowners in Petaling Jaya face RM 10,000+ in penalties because they started hacking without condo management approval, and others in Shah Alam who discovered their contractor was not CIDB-registered only after paying a 50% deposit.
A checklist keeps you systematic. Work through these 20 items in order and you will avoid the 10 most common renovation mistakes that first-time homeowners make.
Phase 1: Right After Getting Your Keys (Items 1–5)
1. Inspect for defects during your Defect Liability Period
Your Defect Liability Period (DLP) gives you 24 months from vacant possession to claim free repairs from the developer. Walk through every room with a checklist: check for wall cracks, uneven flooring, leaking pipes, faulty power points, and window seal gaps. Hire a professional defect inspector (RM 300–600 for a condo) if you are not confident doing it yourself. Submit your defect list to the developer in writing — they have 30 days to rectify.
2. Photo-document the entire unit
Before anyone touches your property, photograph every wall, ceiling, floor, window, and fitting. Use your phone's timestamp feature or a dedicated app. These photos serve as evidence for defect claims, a baseline for your designer, and proof of pre-existing condition if disputes arise with your contractor later.
3. Check existing electrical and plumbing condition
Turn on every tap and flush every toilet to check water pressure and drainage. Test all power points with a socket tester (RM 15–30 at any hardware store). Open the distribution board (DB box) and note the number of circuits and their amperage. Many older units in areas like Bangsar and Damansara have 60-amp boards that cannot handle modern air-conditioning loads — upgrading to a 100-amp board should be in your renovation plan if this applies.
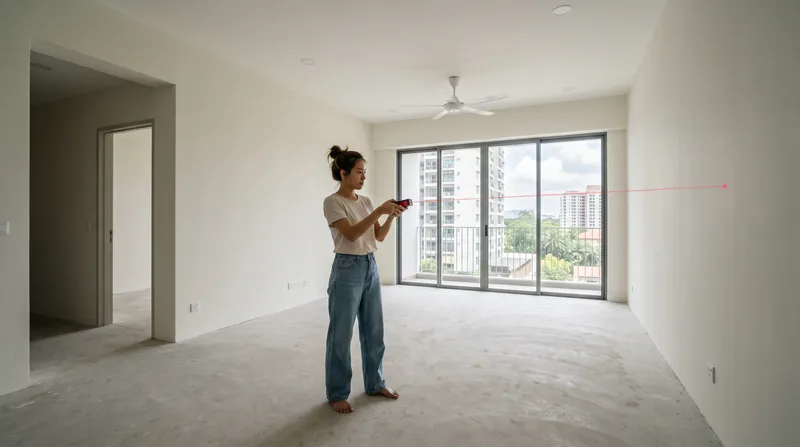
4. Measure every room yourself
Developer floor plans are often inaccurate by 50–100mm. Use a laser measure (RM 60–120) to record the actual dimensions of every room, corridor, and balcony. Note ceiling heights, column positions, window sill heights, and any structural beams. Your designer needs accurate measurements to plan layouts and your contractor needs them to quote accurately.
5. Collect your S&P, floor plans, and strata by-laws
Gather your Sale and Purchase Agreement (S&P), original developer floor plan, strata title (if issued), and your condo's house rules or strata by-laws. These documents spell out what you can and cannot modify, load-bearing wall positions, pipe riser locations, and renovation rules specific to your building. Your designer and contractor will need these before they can plan anything meaningful.
Phase 2: Setting Your Budget and Priorities (Items 6–9)
6. Set a realistic renovation budget with 15% contingency
Research what homeowners with similar property types are spending. A mid-range full renovation for a 1,000 sqft condo in the Klang Valley typically runs RM 50,000–100,000; a double-storey terrace house in Subang Jaya or Cheras might cost RM 80,000–150,000 depending on scope. Whatever number you arrive at, add 15% as a contingency fund. Hidden wiring problems, waterproofing failures, and structural surprises almost always surface once hacking begins.
7. Rank your must-haves vs nice-to-haves
List everything you want, then split into three tiers:
- •Must-have — functional essentials like waterproofing, electrical upgrades, kitchen layout, and built-in storage
- •Should-have — upgrades that improve daily comfort like better lighting, premium flooring, or a wet and dry kitchen separation
- •Nice-to-have — aesthetic extras like feature walls, designer hardware, or smart home systems
If your budget gets tight mid-renovation, you will know exactly what to cut without compromising the essentials.
8. Decide what needs a professional vs what you can DIY
Painting, simple curtain installation, and furniture assembly are fair game for DIY. But anything involving electrical wiring, plumbing, waterproofing, structural changes, or gas lines must be done by licensed professionals — it is a safety issue and, in many cases, a legal requirement under Malaysian building regulations.
9. Explore renovation financing if needed
Most Malaysian banks offer personal loans or renovation loans ranging from RM 10,000 to RM 200,000 with tenures up to 10 years. Renovation-specific loans from banks like Maybank, CIMB, and Public Bank typically offer lower interest rates than general personal loans. Some developers also offer renovation packages bundled with your property purchase. Compare at least three options before committing.

Phase 3: Finding the Right Team (Items 10–13)
10. Get at least three quotations
Never accept the first quote you receive. Get a minimum of three detailed quotations that break down costs by scope — hacking, tiling, carpentry, plumbing, electrical, painting — not just a lump sum. This lets you compare like-for-like and spot any contractor who is underquoting to win the job, then inflating costs through variation orders later.
11. Verify CIDB registration and insurance
Under Malaysia's Construction Industry Development Board (CIDB) Act 520, any contractor performing construction work must be registered with CIDB. Verify their registration at the CIDB website or office. Also confirm they carry Contractors' All Risks (CAR) insurance with public liability coverage — this protects you if a worker is injured on your property or if damage occurs to a neighbouring unit during hacking.
12. Check their portfolio, reviews, and references
Look beyond the Instagram portfolio. Ask for addresses of at least two completed projects you can visit or video-call the owners. Check Google Reviews, Facebook reviews, and forums like Lowyat and Reddit for unfiltered feedback. If you are considering an interior designer vs a contractor, understand the scope differences before making your decision.
13. Sign a proper written contract
A handshake deal is not a contract. Your written agreement should include:
- •Detailed scope of work — every item you are paying for, room by room
- •Material specifications — exact brand, model, colour, and grade for tiles, laminates, hardware, and fittings
- •Payment schedule — tied to milestones, not dates (e.g., 10% deposit, 20% after hacking, 30% after carpentry, 30% after completion, 10% retention)
- •Timeline with start and completion dates — including a buffer for delays
- •Penalty clause — a daily or weekly charge for unjustified delays
- •Warranty terms — minimum 12 months for workmanship defects
- •Termination clause — your right to end the contract if work stalls or quality is unacceptable
Phase 4: Design and Planning (Items 14–17)
14. Finalise your layout with your designer
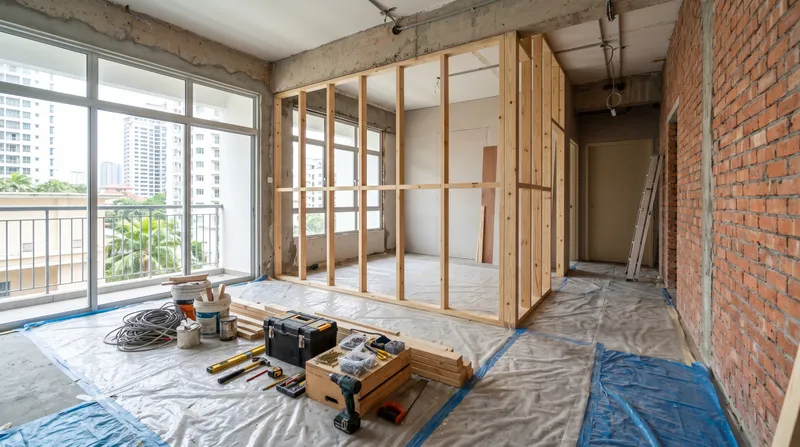
Before any demolition, your floor plan should be locked. This means every wall position, door swing direction, furniture placement, and walkway width has been decided and drawn. Changing the layout after hacking has started is one of the costliest sources of variation orders. If you are working with an interior designer, this is their core deliverable — do not rush them through it.
15. Plan every electrical point and lighting position
Mark exactly where you want every power socket, light switch, data point, and aircon point on the floor plan. Think about bedside charging, kitchen counter appliances, TV console connections, study desk power, and lighting layers. It is far cheaper to add a power point before tiling than to hack open a finished wall later. Most designers provide an electrical layout drawing — review it carefully before signing off.
16. Confirm all material selections before work begins
Choose your floor tiles, wall tiles, cabinet materials, countertop surface, door hardware, and paint colours before hacking starts. Late material changes cause scheduling delays when tiles arrive in the wrong size or the laminate you wanted is out of stock. Visit showrooms, collect samples, and confirm stock availability with your contractor.
17. Request 3D renders or detailed drawings before committing
A good 3D render shows you exactly what your renovated home will look like — spatial proportions, material textures, lighting mood, and colour combinations. It is far easier to change a render than to change a built cabinet. If your designer offers 3D visualization, use it. If not, at minimum insist on detailed elevation drawings for every custom carpentry item.

Phase 5: Approvals and Permits (Items 18–20)
18. Apply for condo management approval
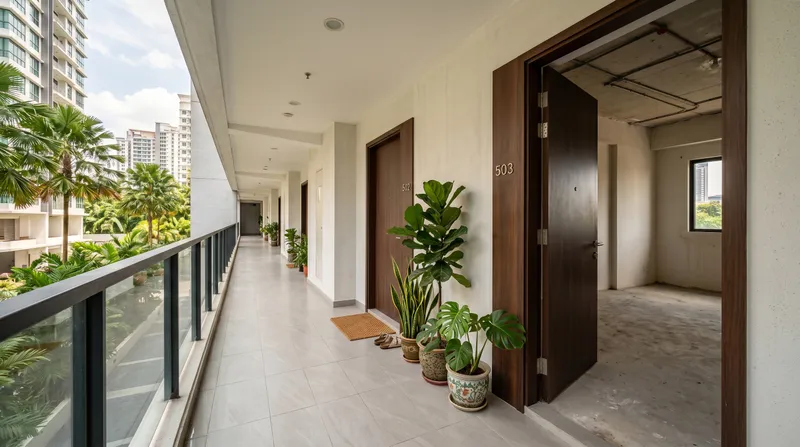
Every Malaysian condominium requires you to submit a renovation application to the Joint Management Body (JMB) or Management Corporation (MC) before work begins. You will typically need to provide your renovation plans, contractor details, CIDB registration, insurance certificate, and a refundable renovation deposit (RM 5,000–20,000 depending on the building). Approval can take one to three weeks, so apply early. Starting without approval risks fines, stop-work orders, and forfeiting your deposit. For a detailed walkthrough, see our condo renovation guide.
19. Obtain local authority permits for landed property
For landed properties (terrace, semi-D, bungalow), structural changes, extensions, or facade modifications require a permit from your Pihak Berkuasa Tempatan (PBT) — the local council such as MBPJ for Petaling Jaya, DBKL for Kuala Lumpur, or MBSA for Shah Alam. Your architect or designer can submit the application on your behalf. Minor interior work like painting, tiling, and built-in carpentry generally does not require a PBT permit, but always confirm with your local council.
20. Notify your neighbours and schedule the hacking
Good renovation etiquette goes a long way. Inform your immediate neighbours about your renovation timeline, expected noise levels, and working hours. For condos, most buildings restrict noisy work (hacking, drilling) to 9 am–5 pm weekdays and 9 am–1 pm Saturdays, with no work on Sundays and public holidays. Coordinate with your contractor to schedule hacking on a day when your presence is not required — the dust and noise will be intense.
The Complete Pre-Renovation Checklist at a Glance
| Item | Task | Who Handles It | When |
|---|---|---|---|
| 1 | Inspect for defects (DLP) | You + inspector | Immediately after VP |
| 2 | Photo-document entire unit | You | Same day as inspection |
| 3 | Check electrical and plumbing | You + electrician | First week |
| 4 | Measure every room | You (laser measure) | First week |
| 5 | Collect S&P, floor plans, by-laws | You | First week |
| 6 | Set budget with 15% contingency | You | Week 1–2 |
| 7 | Rank must-haves vs nice-to-haves | You + partner | Week 1–2 |
| 8 | Decide DIY vs professional scope | You | Week 2 |
| 9 | Explore financing options | You + bank | Week 2–3 |
| 10 | Get 3 quotations | You + contractors | Week 3–5 |
| 11 | Verify CIDB and insurance | You | Before signing |
| 12 | Check portfolio and references | You | Before signing |
| 13 | Sign written contract | You + contractor | Week 5–6 |
| 14 | Finalise layout | Designer + you | Week 6–8 |
| 15 | Plan electrical and lighting | Designer + you | Week 6–8 |
| 16 | Confirm material selections | You + contractor | Week 7–9 |
| 17 | Get 3D renders or drawings | Designer | Week 8–10 |
| 18 | Apply for condo management approval | Contractor + you | 2–3 weeks before hacking |
| 19 | Obtain PBT permits (landed) | Architect / designer | 4–8 weeks before hacking |
| 20 | Notify neighbours, schedule hacking | You + contractor | 1 week before hacking |
What Happens on Hacking Day
If you have followed this checklist, hacking day should feel organised rather than chaotic. Before the crew starts, do a final walkthrough with your contractor to confirm which walls are coming down, which areas are protected, and where the debris exit route is. Cover any flooring, fixtures, or built-in items that are being kept with protective sheeting. Then step back and let the team work.
The renovation journey does not end at hacking — it is just the beginning. But starting with every approval in place, a signed contract in your drawer, and a clear plan on the wall means you are already ahead of most first-time homeowners in Malaysia. If you want a team that handles this entire process from design through construction, get in touch with us for a free consultation.
Looking for an interior designer near you?
OutBox Design serves homeowners across the Klang Valley with full design-and-build services.